1) Create a new file. File >> New, or press Ctrl + N.
2) Select ‘Terra’ from the template window.
3) From the ‘Groups’ workspace tab select the group named ‘RIGHT’.
4) Click on “Zoom Extents All” toolbar button.
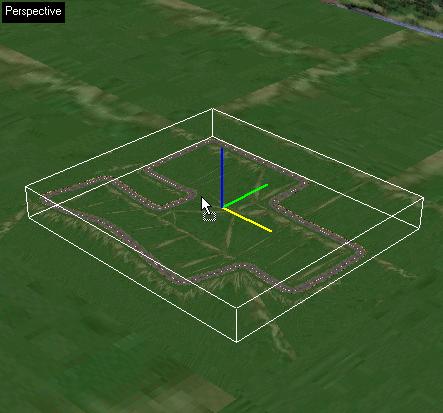
5) You will see a road track as shown.
6) Now maximize the perspective window by clicking the ‘Min/Max toggle’ toolbar button or by
pressing ‘W’.
![]()
7) Open the model gallery tab
![]() , and select a tree model (MODELS
>> Nature
>> Trees
>> Summer)
, and select a tree model (MODELS
>> Nature
>> Trees
>> Summer)
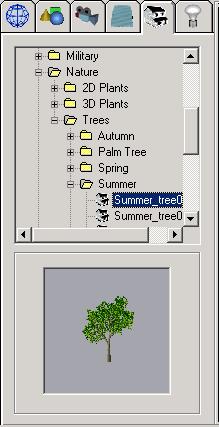
Note: you’ll see a preview of the selected model.
8) Now drag the preview and drop it into the scene at an appropriate location (say besides the road).
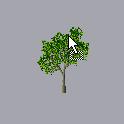 Drag.
Drag.
 Drop.
Drop.
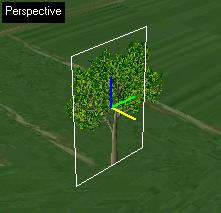
9) Now ‘zoom extents’
![]() the scene once more. You will now clearly see the tree that
you just added.
the scene once more. You will now clearly see the tree that
you just added.
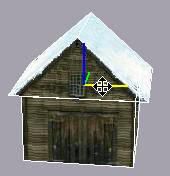
10) Now select the revolve tool
![]() .
Keep left mouse button pressed and drag in the view port to see
the selected object from all directions.
.
Keep left mouse button pressed and drag in the view port to see
the selected object from all directions.
11) Note: the 2D tree that you just added uses a rotated polygon.
12) Scroll the mouse middle wheel to zoom in and out. You can also use the ‘Move Camera’
tool
![]() .
.
Note: you can increase or decrease zoom sensitivity by
pressing the +/- keys.
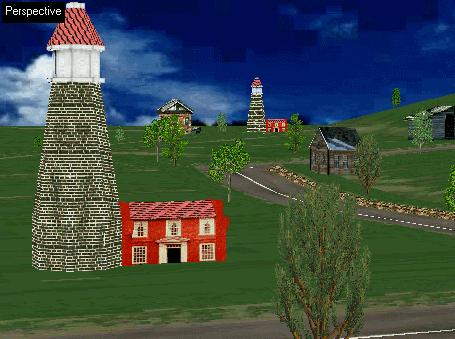
13) Continue adding more models (Houses, Trees, 2D People, etc) in a similar fashion.
14) Note: You can pan (move left right up or down) the scene while in revolve mode by
keeping ‘I’ pressed and moving the mouse.
Note: If you feel that you
have done something wrong, don’t hesitate to use the undo-redo
feature.
15) Once you feel you have added enough models, you can preview your world by pressing the
F5 key or selecting View
à
Viewer Mode from the main menu.
This will launch the 3D Viewer.
16) That's it, you have created your first 3D world! Save your world.(File à Save As or press Ctrl+S)